· 4 min read
3D Printed Lamps
Without the skills to make cool flashlights this was the best I could do.
import lampBase from ’~/assets/images/lamp_1base.png’;
Why Lamps?
They’re cool. After I found out about lithophanes I could make while 3D printing I bought an entire Core XY machine to help get more precise prints. I dropped nozzle size, speed, and layer height with ultra fine-tuned retractions and accelerations to get the best resolution. While lithophanes are a cool gift, they’re not an overly practical creation. Lamps however? We use them almost daily, and 3D printing one allows me to make cool designs and test my precision.
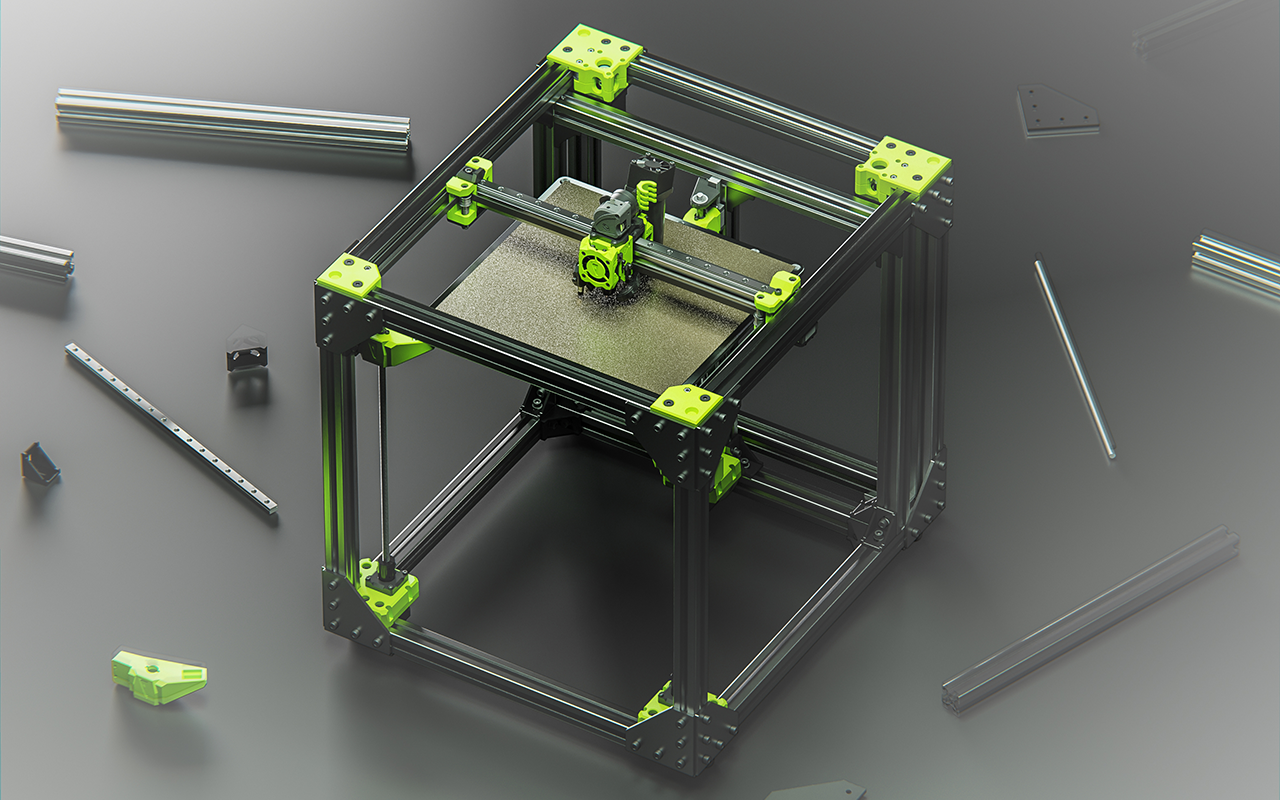
Lamp #1
I took a thingiverse designed square lamp, and determined that I could print it in vase mode on my printer. For those who don’t know, vase mode is where the printer never stops extruding filament, and spirals up with the final product only being one pass wide. No doubling walls, just perfect extrusion needed the entire way for one consistent pass. Some quick measurements and a scale factor later I had the product set up on my printer, and scaled to fit a standard A19 bulb. After a quick check on the gcode, I sent it off on its pipeline Cura->moonraker->fluidd pi->printing.
With the lampshade printing it was time for the hard part. Designing a base that can house a light socket, wiring, and have a port for a light switch.
I did not overcomplicate this. Simple box that would friction fit inside the lampshade, with a knockout for the cable, and another knockout for the small rocker switch. On the inside I made a cylinder a couple mm wider than the A19 socket, tapered it in 2 degrees, and put relief cuts in both sides. This allowed the lightsocket to be friction fit as well, and the relief cuts allowed the wires to split and ensure any connections would be on opposite sides of the base at all times. On the hot (black) side of the socket I added in a guide channel all the way to the switch. This ensured that any mild jostling of the lamp would keep the wire safe.
Now, any experienced engineer knows theres still one critical problem. We have a base, a socket, a switch, a lampshade, but we don’t have any type of heat venting, and only a single pass from a 0.4mm nozzle thick shade. I had a novel DIY solution to this. Which was by making a mental note that I could only use low wattage LED light bulbs.
Finally with a few hours of printing, a couple of wirenuts, and two blade connectors, my fire-hazard lamp was safely in production.
Lamp #2
Learning from my mistakes, I decided to design my next lamp as more of a bookshelf piece, not as a tabletop item. Instead of utilizing a standard A19 socket, I utilized battery powered decorative wire lighting, similar to christmas lights.
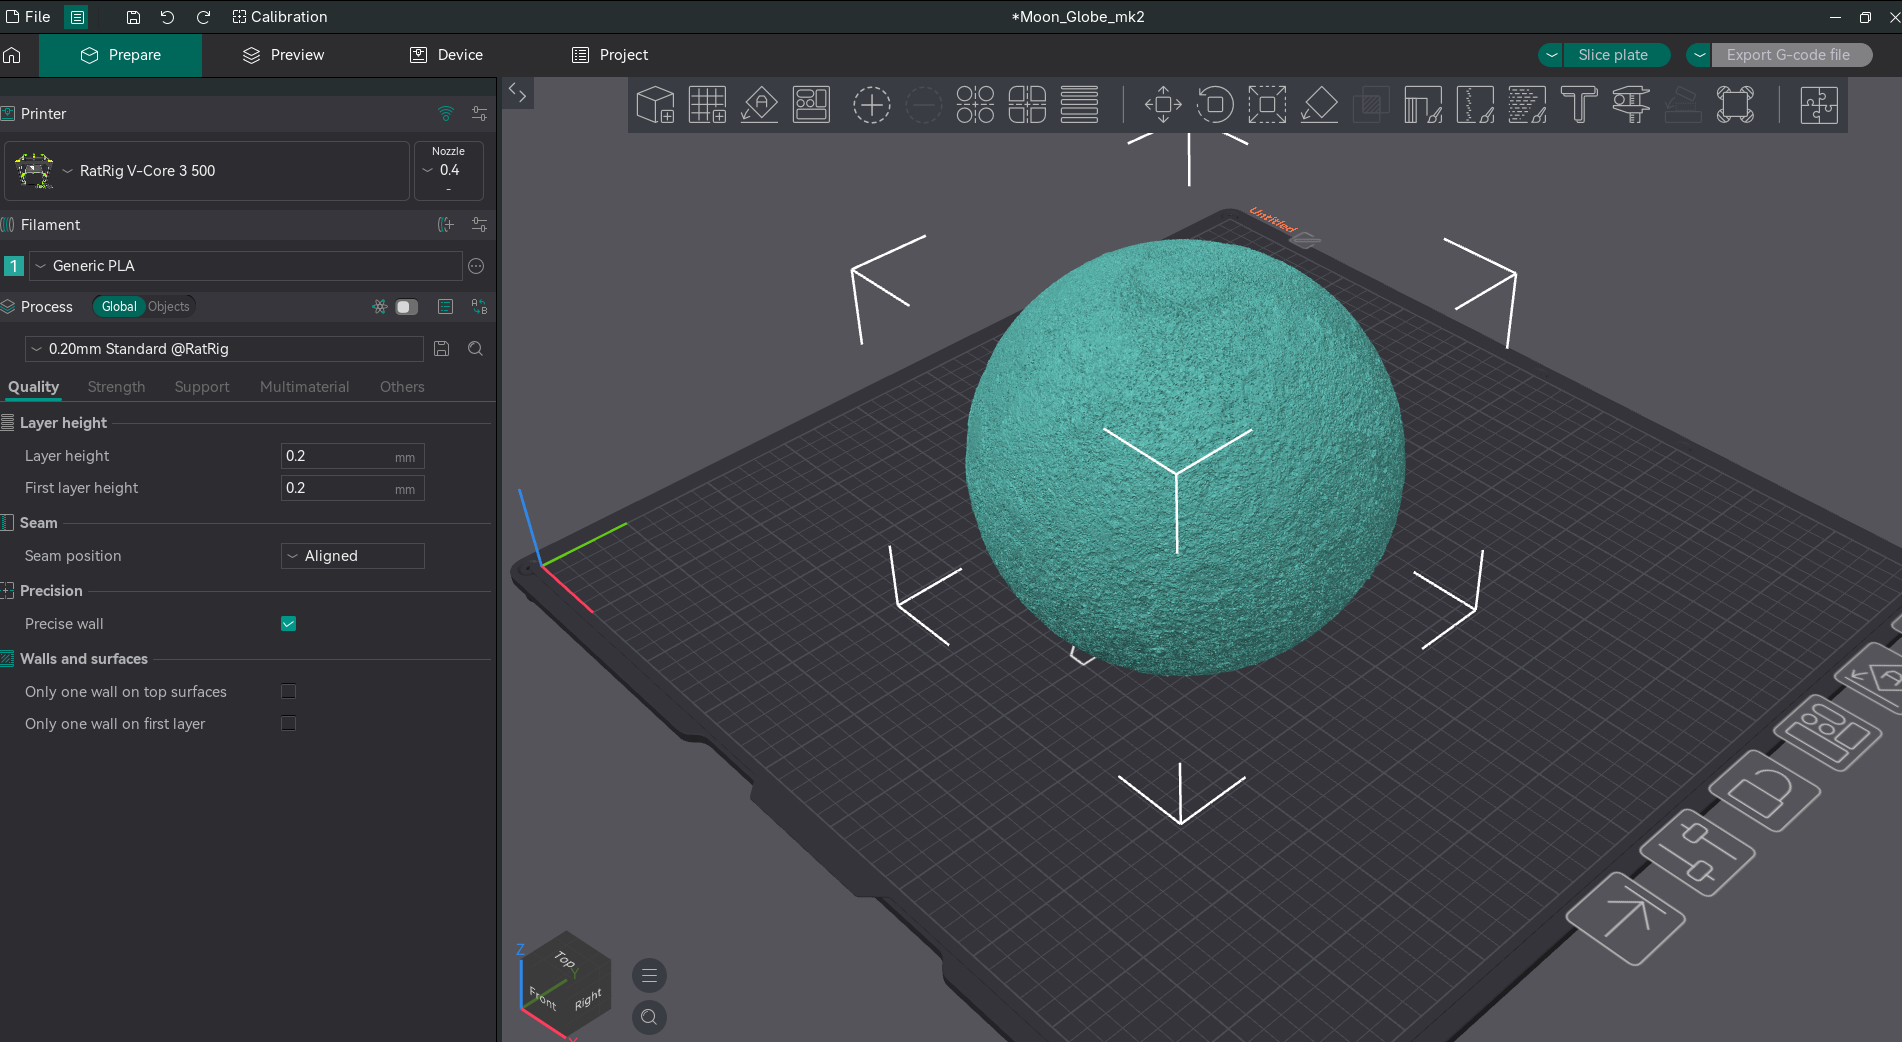
Once again, the lampshade model was pulled from Thingiverse. This time an ultra detailed moon replica. This model was not printed in vase mode, instead I utilized lithophane styling to allow light and shade depth for craters and valleys. The scaling for this was a simple scale up to a 10in sphere and shipped off to the printer.
The base design for this lamp was considerably more simple. With the lights, switch, and power all contained and pre-wired I was able to make a pocket for the battery housing to slot into, with the on/off toggle recesed but accessable from the bottom of the lamp. Assembly involved sliding the battery pack into the pocket, stuffing the string lights into the moon, and then friction fitting the base inside the moon base.
Main takeaways
- I am thankful to all of the modellers that post their work on Thingiverse, GrabCAD Library, and Printables. They are truly the unsung heros of the 3D printing space. It would not have been an afternoon project without these people.
- Wiring up the first lamp was straightforward, and I have full faith in the security of the connections, but heat is a legitamate concern, and future designs have always had heat generation and connection proximity integrated in the design review process
Conclusion
Overall, a very fun low-stake, low stress project that I am still happy with the outcome. I was happy with my printer’s performance and results - it was a good exercise in problem solving, with a very visible outcome.
Bonus
If any of you are interested, I saw this while writing the article, and if you have a 3D printer I would love to see your results https://www.thingiverse.com/thing:4176380/files